There are several ways you can design a logo. You can even have it done as a design contest on crowdsourcing sites. For one on one projects, each designer or agency has its process. For us, we have been designing logos for almost a decade and our process has significantly changed since we’ve started. It has evolved overtime through experience. Learning from one project to the next. We continually find ways to improve our process with the goal of being able to produce more effective logo designs and give our clients the best chance to succeed.
Do you want to know how we work on our logo design projects in the studio? Are you interested in working with a logo design project with us? But don’t know what to expect? Continue reading below and see our 7 step logo design process – from start to finish.
1. Qualifying The Prospect

Before we start discussing the details, we have to know the prospect’s budget, timeline, and a bit of background about the project. We use these factors to determine if we are to take on the project or not. We provide the prospect with an ebook containing our logo design process, pricing, and packages. They can see how we work, how long this takes us to complete, and how much our fees are. This way, we won’t be wasting both our time and the prospect’s right from the start.
Once the prospect agrees with our process, pricing, and fees, we will then send over the invoice for the project deposit. It is usually 50 percent of the total project cost. It ensures the client’s commitment to the project and as a safety precaution for the studio. The project can then officially start once this has been taken care of by the client.
2. Brand Discovery Phase

This part of the project is where we talk about the brand, its products or services, its goals, the problems they try to solve, and the target audience. We also discuss how they would like to be seen by their intended audience, their values, what makes them unique, and what differentiates them from the competition. From the discussion, we can then take note of the keywords for the brand. We can also formulate a brand positioning statement for them. It will be essential in the next step of the logo design process.
3. Design Direction Options
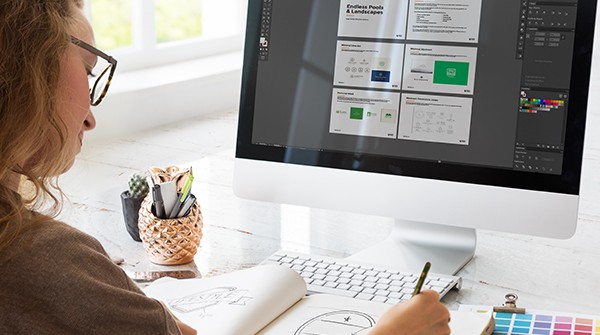
Using the established brand keywords and positioning statement, we can now determine what type of logo design direction would best fit the brand. We present to the client a couple of logo design styles, fonts, and color options for them to choose from. Included in the design direction option presentation is the rationale behind these options, why these would work for the brand, their strengths, and weaknesses. Think of this as the top of the design phase funnel on the logo design process. It provides our designers with a focused design direction for the logo. It also ensures that the client’s and our studio’s vision for the logo is in sync.
4. Initial Logo Designs
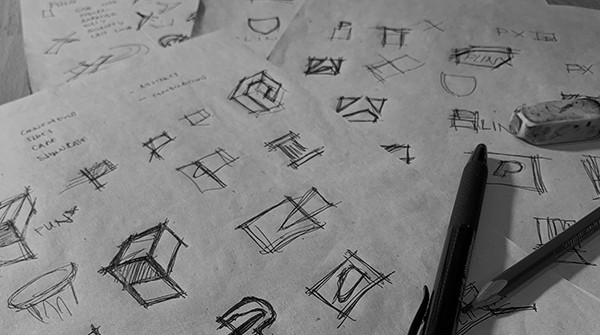
We’re now on the middle part of the funnel with a clearer idea of how to execute the brand’s logo design. Using the client’s selected logo design style while keeping in mind the brand’s values and positioning, we can proceed to create the initial logo designs.
We start with multiple concepts and sketches. From those, we select the best three. We don’t want to present more than this number since it will create a choice paralysis. It will make it harder for the client to make a choice and would be less likely to take action. Another downside to presenting a lot of options is that the client will be less satisfied with the final decision.
From the top three sketches and concepts, we will now convert them to become vector-based illustrations. Vector illustrations will not pixelate no matter how much you adjust the size, the perfect format for a logo design.
5. Proposal Presentation

It would be hard to appreciate the logo designs by itself. It is why we prepare a proposal presentation for the client. The first part contains the brand keywords, brand definition, and the decided design direction. The purpose is to refresh the client’s memory on our goals and as a guideline for the proposals. The second part contains the three initial design proposal. Each will have a story, an explanation, and the concept behind it. It will show the different orientations and backgrounds for the client to see how versatile the design is. We will also create mockups of the logo proposals in its appropriate settings. It will be easier for the client to visualize the logo in actual applications this way. The client can also see if the logo will work or not.
6. Adjustments and Variations
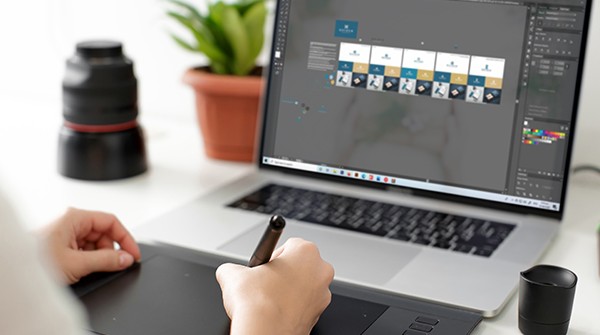
The client can mix and match the design proposals. They can also ask for slight adjustments or variations for a selected design option. A lot of times, they would like to see some additional variations before deciding. It helps them see that they have decided on the best version. We do have a specified number of revisions set for the client from the start. We also make sure that all requests are within the agreed design direction.
7. Finalization and Handover
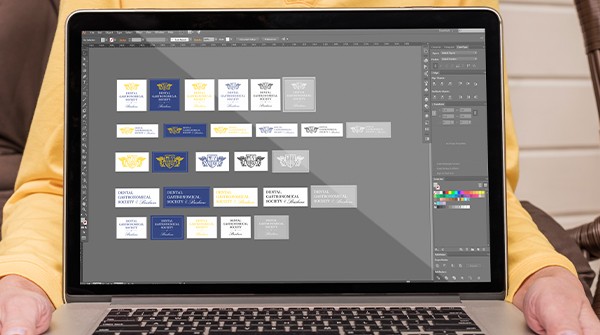
We’re finally at the end of the funnel. The client has finalized their decision and has selected a design. The next step is to prepare the final design for both print and web use. The different design orientations and color variations are included. All of these are handed over to the client upon receipt of the remaining logo design fee. We can then wrap up the project and mark this as complete.
Conclusion
This 7-step logo design process may seem a lot but this is designed to make sure the project goes smoothly as possible. It is intended to create a final design that will not only look good but will also best represents the brand and at the same time be visually appealing to the intended audience. A logo design which is not solely based on aesthetics but on a brand strategy and a goal as well.
Need help with your logo design project? Send us a message.
